
Do you want to be a blogger?
Do you want to create your own WordPress blog for free?
Obviously, you can easily create your personal blog on WordPress. But you don’t know the right guide how to start a WordPress blog for free? It is so simple that anyone can make it in minutes. Creating a WordPress website does not require coding skills but it does require minimal computer skills.
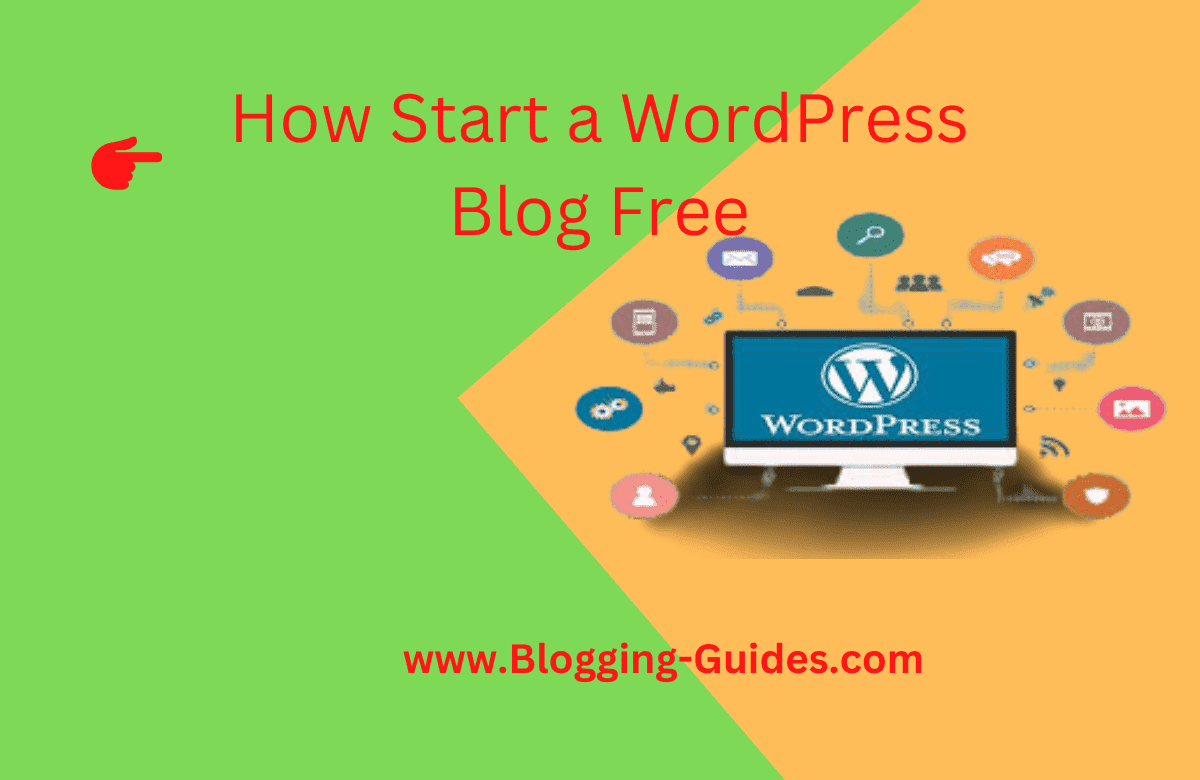
In this article, I will show you the exact guide on how to start a WordPress blog for free. No technical skills are required to setup your WordPress blog. Starting a blog on WordPress.com is completely free. But creating a blog site for you has some disadvantages.
At the beginner level, I would recommend choosing WordPress free for testing and understanding the WordPress Features.
WordPress is the most popular CMS in the world, with millions of bloggers using it every day (including me). In fact, According to ryrob.com recent blogging statistics show that more than 60% of all blogs, including websites, run on the WordPress CMS.
Since I first started blogging and I run my blog on WordPress. Now, one thing you need to be aware of is that WordPress comes in two different platforms.
WordPress.com and WordPress.org have almost the same name, but there are very big differences between the two:
What are Difference Between WordPress.com vs. WordPress.org?
The best way to understand the difference between WordPress.com vs. WordPress.org to help you decide which one is best for you.
WordPress.org
WordPress.org aka “The Real WordPress”, is a popular website platform that you’ve heard great things about.
It’s an open-source software, and it’s 100% free for anyone to use. All you need is a purchase domain name and web hosting. For this reason it is also referred to as self-hosted WordPress.
Below are the pros and cons of using self-hosted WordPress.org to start your website or blog
Read: How To Migrate Your Blog from Blogger To WordPress
Pros of the WordPress .org
Along with WordPress.org, you have full control of your website. You are free to do whatever you want and can customize it according to your needs.
Here are some of the advantages of choosing WordPress.org to build your website and why it’s our #1 pick for best website builder.
- WordPress software is totally free, open source and very simple to use
- You own your website and all of its data Your site won’t be shut down because someone decides it’s against their terms of service (unless you’re doing something illegal). You are in complete control.
- You can install free, paid, and custom WordPress theme ,plugins to your blog or website.
- You can use it to customize your website design as per your requirement. You can add any free or premium WordPress theme you want. You can also create completely custom designs or change anything you want.
- You can actually make money from your WordPress site by running your own ads without sharing the revenue with anyone.
- You can use best powerful tools like Google Analytics for custom analysis and tracking your visitors.
- You can use self-hosted WordPress to create an online store to sell digital or physical products, accept credit card payments, and deliver/ship products directly from your website.
- You can also create membership sites and sell memberships for premium content, courses, etc. and build an online community around your website.
Cons of The WordPress.org
There are very few disadvantages to using a self-hosted WordPress.org site.
- As with all websites, you will need web hosting. This is where your website files are stored on the Internet. Initially, the cost is about $3-$10 per month. But as your website grows and gets more traffic, the cost of the web hosting plan will increase as expected, but then you will make enough money to cover the costs.
- You need to install WordPress. Fortunately most popular WordPress hosting companies offer 1-click WordPress installation options. You can follow our comprehensive tutorial on how to install WordPress properly.
- You are responsible for regular updates. You can easily update your WordPress site by clicking the update button (one-click), so it’s not too much work.
- You are responsible for backups. Fortunately, there are plenty of WordPress backup plugins that allow you to setup automatic backups.
- The actual cost of a WordPress.org website varies based on what you are trying to build (general blog, portfolio website, eCommerce store, membership site, etc.). There are also other factors like free theme vs premium theme, free plugins vs premium plugins etc.
- On a budget, you can build your website for as little as $46 per year. Check out our guide on how much it really costs to build a WordPress website for full details.
WordPress.com
WordPress.com is a hosting service which developed by Automatic led by WordPress co-founder Matt Mullenweg. Due to the same founder, most of the users many times confuse WordPress.com with the popular WordPress.org Open Source software.
There are Six Services Plans Of WordPress.com
- Free Plan – Which very limited.
- Personal Plan – $48 per year
- Premium Plan- $96 per year
- Business Plan – $300 per year
- E commerce Plan – $540 per year VIP Plan – Starting from $5000 per month
Let’s take a look at the pros and cons of WordPress.com.
Pros of the WordPress./com
.Here are some Pros of using WordPress.com:
- The free WordPress.com platform is a good choice for hobby bloggers and personal bloggers who are starting a blog as a hobby
- WordPress.com provides 3GB of free space. After that, if you need more space, you have to upgrade to one of their plans. The Personal plan costs $48 per year for 6GB of space, the Premium plan costs $96 per year for 13GB of space, and the Business plan costs $300 per year for 200GB of space.
- You don’t need to worry about backup, update of your blog or website, WordPress.com will take care of it.
Cons of the WordPress.com
Free WordPress.com has several limitations that differentiate it from WordPress.org. Here are some disadvantages of using WordPress.com:
- WordPress.com advertises on all free websites. When your users see those ads and you don’t make money from it. If you don’t want your users to see their ads, you’ll need to upgrade to a paid WordPress.com plan that starts at $48 per year.
- You are not allowed to sell ads on your free WordPress.com website, which severely limits the ways you can monetize your site. If your site gets a lot of traffic, you can apply for their advertising program called WordAds where you share your revenue with them. . Premium and Business plan users can use WordAds now.
- You cannot upload any plugins. Built-in Jetpack features are enabled by default for free plan users. Where Business Plan users can install from a selection of compatible plugins ($300 / year). The WordPress.com VIP program allows you to install plugins and it starts at $5000 per month.
- You cannot upload custom themes. Free plan users can only use from a short collection of free themes. Premium and Business plan users can also select and use premium themes. Customization is very limited for free users but premium and business plan users can use custom CSS.
- Free Plan are limited to their statistics. You can’t add Google Analytics or install any other powerful tracking platform if you want, but Business Plan users can install Google Analytics.
- Free WordPress.com sites offer a WordPress. com branded subdomain for free (eg https://yourwebsite.wordpress.com). For a custom domain name (eg https://www.yourwebsite.com) you need to upgrade to one of their plans and pay for the domain separately.
- They can remove your site at any time if they feel it violates their terms of service.
- Your site will display a powered by WordPress.com link. This can be removed by upgrading to the business plan.
- WordPress.com does not offer any e-commerce features or an integrated payment gateway unless you switch to an eCommerce plan.
- You cannot create a membership website with WordPress.com.
You can see, the WordPress.com hosting platform is quite limited when you are on the free, personal or even premium plans. To unlock some more advanced features, you need to be on the Business plan ($300 per year) or the VIP plan ($5000 per month).
How to Start a WordPress blog for free?
There are two ways you can start a WordPress blog site.
- WordPress.com which is totally free
- WordPress.org which is also totally free but you need domain and hosting to use it. But if you want you can start with Hostinger which is so cheap price starts from $1.99 with free domain and free SSL certificate.
Since our main purpose of this article is how to start a WordPress blog free. So in this article I’ll show you how How to Start a WordPress blog free. Let start now!
To complete this articles you have to follow the following steps-
1. Create a free blog in WordPress
I am going to show you the steps to follow to create it from scratch, that is, also creating the user account on WordPress.com. You will see that it is very simple and actually the user account is made in the last step, so let’s get to the point.
- First open your browser and type wordpress.com and visit now

- As a result WordPress. com site will open,click Get Started or Start Your Website at the top right
- Sign up for a free WordPress.com account. You must enter a valid email address that is not already used for a WordPress account

- Select a username in the second text box. It should be as unique as your email address. Learn how to choose a username if you need help.
- Finally, enter a strong password that is difficult to guess. If you’re afraid you’ll forget it, save it in a password manager.
- When you’re done filling in the text boxes, select Create your account.
Note :If you have a Gmail or Apple ID then you can do it faster by clicking Direct
- Now, you need to enter your blog information. Enter your blog name in the first text box. People will guess this when they visit your blog. Make it reflect the content of the blog but make it interesting and unique.
To answer What will your site be?, enter words or phrases separated by commas. Like, health, kids toys, digital marketing etc

When asked about your primary goal with this blog, answer whatever applies to you. Maybe you’re creating it to promote your business or portfolio, or maybe it’s just to share your worldview.Are you comfortable with building a website? You will see a scale from 1 for a beginner to 5 for an expert. Enter the number that best fits your situation.
When you’re done, select Continue.
- Choose your blog address.Free WordPress blogs end with , so the name you choose precedes the URL and is what your visitors see when they land on your blog. Enter whatever you want to use as your blog’s URL Below the search box are several addresses with different top-level domains, but only one is free. Choose the free option with the Select button, then click Start with Free on the bottom page to view your new blog.

- Now to provide your site name and site tagline click on the Name Your Site option below
- Next Filling the blank option according to your Site title,Site Icon and Click Launch Your Site
- Then you have redirected to the WordPress Various Plans option for custom domain but in this tutorials we would not buy domain that is why Click Start On Free

Finally you have successfully created your blog for free. Now time to edit your site.
WordPress general settings

The first and most important step is to change the general settings of the website. On this page, you need to enter your website “Title”, your website tagline and other settings. However, there are no restrictions on changing these settings at any time. But it is always advisable to have a website tagline to tell your visitors what your motto or website goal is. And the title of your website will help in branding.
Writing WordPress Settings
After changing the general settings of WordPress, now go to the writing settings, which is present under the general settings button. In post settings, you can set default post category and default post format for your posts. However, this step is not that important though. You can change these settings whenever you want even after pushing some content to your website

Reading the WordPress settings
Now that you have changed the writing settings, now proceed to change the reading settings. Depending on the WordPress theme you’re using, the reading settings fields may be slightly different. But most of them will have the option to choose how your homepage display will look to your readers, set the number of blog pages, encourage or discourage search engine indexing, etc.
Note: We recommend that you discourage search engines from indexing the site before finishing designing the website and starting to push articles to the website. Because an incomplete website without posts will have a negative impact on search engines and it will affect SEO.

Discuss WordPress settings
The discussion settings page contains all the settings related to post comments and their moderation. This settings page will allow you to restrict spammers or bots, who try to spam your comment section with irrelevant links or ads. Initially, your main consideration should be to restrict random users from commenting or to manually approve comments.

Media WordPress Settings
WordPress gives users a media settings option to customize the size and width of thumbnails or images you upload. You can leave it as is or define a pre-set size media configuration for the post.

Set your user profile
After making some changes and setting up WordPress general settings, other settings should appear in your user profile. To edit your user profile, hover over the User menu button and click on the Your Profile option.
Sometimes the various user information fields shown in the image above are filled by the theme by default. Hence, it is very important to ensure that every detail of the user profile is filled correctly. Also check, “Display name publicly” is showing correct drop-down options.
At the bottom of the User Profile Settings page, complete your Gravatar profile, which will help you easily post articles or posts to any WordPress website.

Select a Theme and Customize Your Blog

Under the Appearance tab you will find a range of theme options where you can preview and activate different themes
You can create your own unique theme using design options including adding your own logo and header, changing the background color and creating your own layout.
WordPress also offers widgets that add functionality to your sidebar and other widget areas from installed plugins. Choose the widgets that add the features you need to make your blog work best
You can setup your WordPress RSS feed and start building email subscribers as well.
Install plugins:
WordPress.com has the default plugins you need and you can also install a limited number of plugins from WordPress.
2.Basic content management
OK! Blogs go on and on, but nothing worth reading. Well, it hasn’t officially “launched” yet, but you really want to put some content up before you let anyone else see your website.
But before we get started, let me quickly explain to you the difference between “posts” and “pages” in WordPress.
Posts are just that, your blog posts. These are the bits of content that will appear in reverse chronological order, and you’ll spend most of your time on them. Enough said.
Pages are more static, and they are usually visible to the user in the navigation bar. This is where you put your contact information (“Contact Us”), your personal story (“About Me”) and things like that.
3.Write Your first Post:
To get started on our first post, we’re going to click on the left-hand menu “Hover your mouse over the Post menu and click on the option called Add Post” or click the “Write” button in the top-right corner of the screen.

Then, a Gutenberg editor will open! The big text at the top is your title, and everything below is the content of the post. The latest version of Content Editor divides all your content into “blocks”. Each paragraph, each image, and everything else is its own “block,” and all blocks can be moved to other parts of your post at will.

When you’re done, hit the blue “Publish” button in the top right. You will be asked if you have prepared everything and are satisfied with your post. Press the button again to complete the process.
Conclusion
Friends, if you follow the given steps in the right way, you will surely succeed in blogging one day. You can make good money by blogging.
If you have doubts related to blogging you can comment us and I will try my best to answer your comments.
If you like this post, please share with your friends who is a new blogger or starting a blog, this message can show you are a good person in their life.


